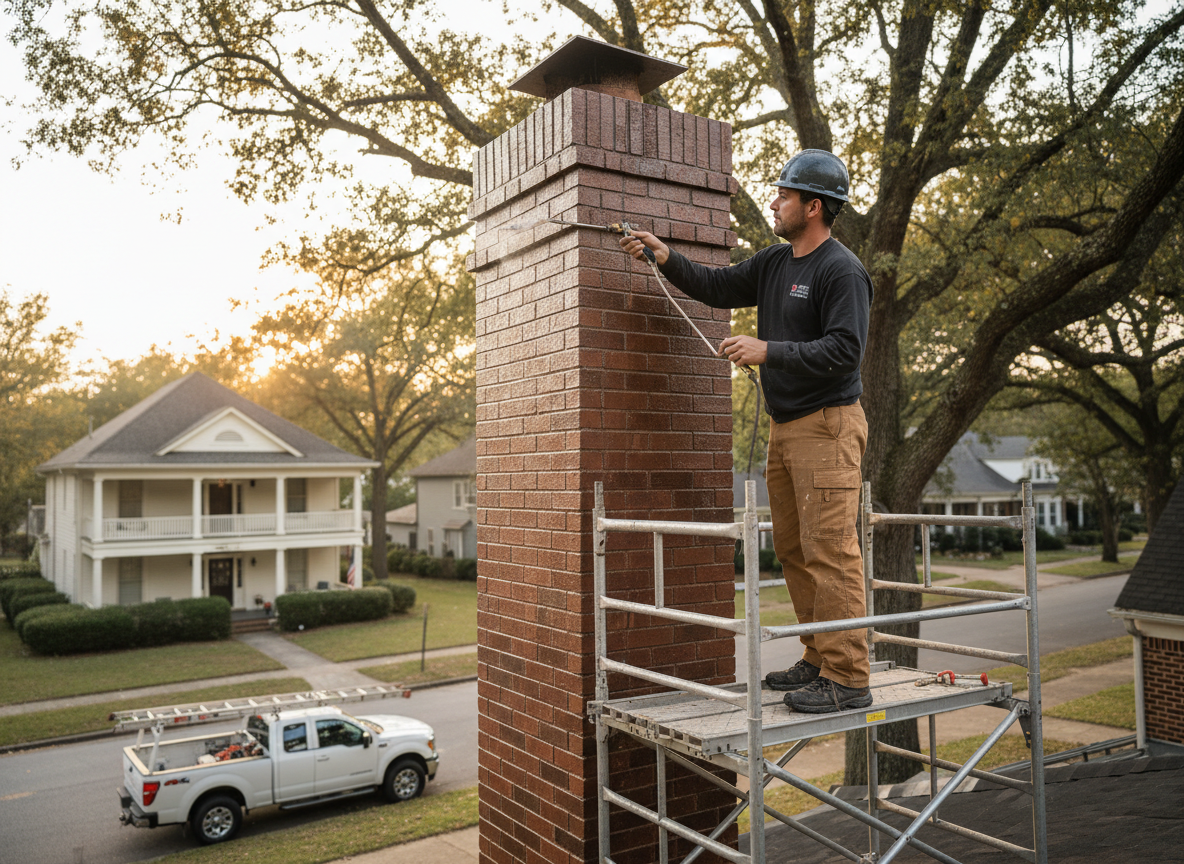
Chimney waterproofing begins with a thorough inspection of the crown, flue, and flashing on homes throughout Montgomery and nearby neighborhoods. Older brick structures common in the area often show hairline cracks where water enters during spring storms, then expands when temperatures drop below freezing. We apply a breathable siloxane-based sealer that penetrates the masonry without trapping moisture inside the flue, a critical step because non-breathable coatings can accelerate spalling on local chimneys built before modern code updates.
Edge cases we see regularly include shared chimneys on duplexes near downtown Montgomery where one homeowner’s neglected crown allows runoff to affect the neighboring flue. Proper prep requires removing loose mortar and vegetation before sealing, plus checking the rain cap and cricket on roofs with multiple valleys. Skipping these steps leads to recurring leaks that stain ceilings or damage attic insulation during prolonged wet periods typical of the Ohio River valley.
Homeowners should never rely on DIY sprays sold at big-box stores; these products rarely reach the temperatures or coverage rates needed for lasting protection on exposed masonry. We document every joint and transition so future repairs can target only the affected sections rather than re-treating the entire stack.
Technician insight
In Montgomery, the thing that catches most people out with chimney waterproofing is how quickly water penetrates the soft mortar in 1960s and 1970s brick homes once the crown cracks; the freeze-thaw cycles here turn small openings into full leaks within a single winter.
Leaking Chimney on Mapleview Drive
Water stains appeared on the second-floor ceiling after several days of rain. Inspection showed a deteriorated crown allowing runoff into the flue. We cleaned the surface, repaired the crown, and applied waterproofing to the upper four courses. No further staining occurred the following season.
How it works
- 1
Site Assessment
We examine the crown, flashing, and surrounding roof from the ground and attic to locate active water paths.
- 2
Surface Preparation
Loose debris and vegetation are removed, and any open joints are pointed before sealer application.
- 3
Sealer Application
Two coats of masonry-specific waterproofing are applied by brush and sprayer, ensuring full coverage of the crown and upper courses.
- 4
Final Walkthrough
We verify the sealer has cured properly and review maintenance steps with the homeowner.
Pricing
Project cost depends on chimney height, access, and existing damage; we provide an upfront quote after inspection.